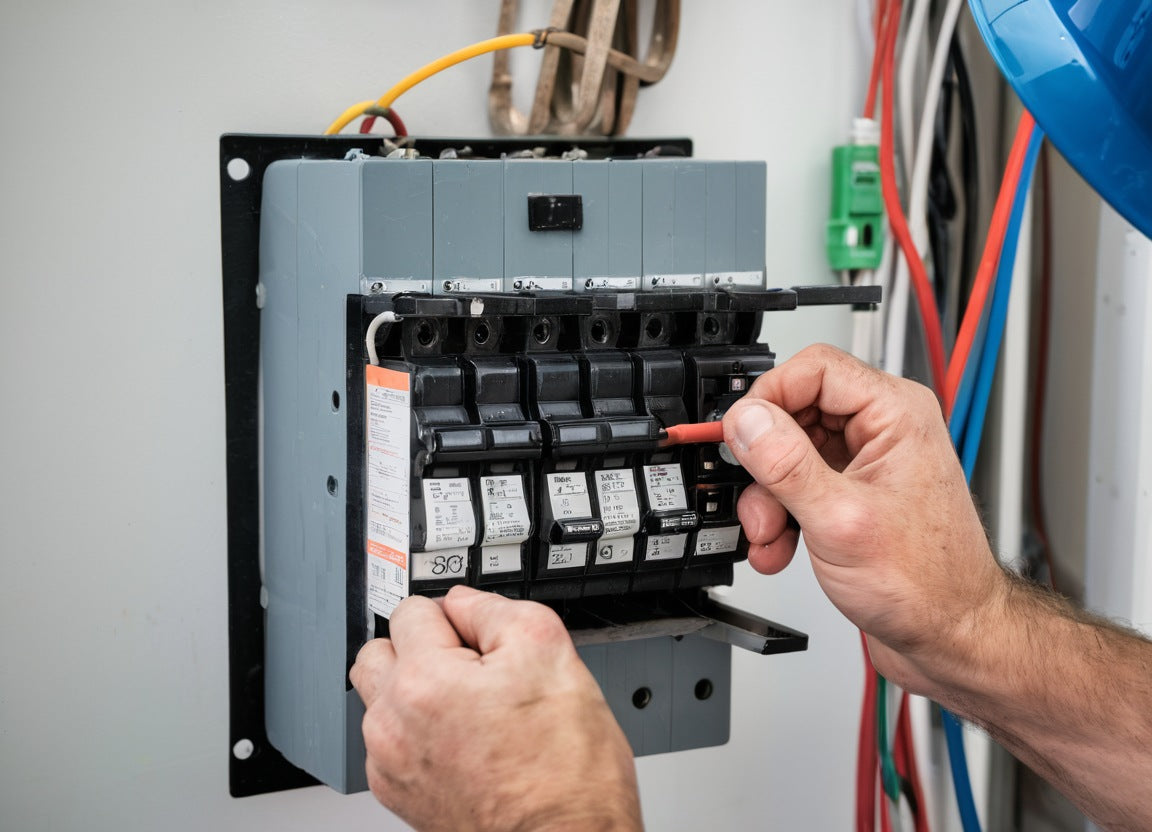
How to Replace a Faulty Circuit Breaker Safely: A Step-by-Step Guide
In our modern lives, we rely heavily on electricity for everything from heating our homes to powering our electronic devices. Circuit breakers serve as a vital safety device, protecting our appliances and wiring from overloads or short circuits. However, like any electrical component, circuit breakers can become faulty over time, leading to power disruptions or, worse, potential fire hazards. Knowing how to replace a faulty circuit breaker safely is essential for any homeowner. This blog post will guide you through this process, ensuring you can handle this task with confidence.
Understanding the Circuit Breaker
A circuit breaker is an automatic switch designed to protect electrical circuits from damage caused by overloads or short circuits. When the current flow exceeds a set limit, the breaker trips, interrupting the electrical circuit and preventing further damage. If your breaker frequently trips or shows signs of wear, it may be time to replace it.
Safety First: Before You Begin
Working with electricity can be dangerous. Therefore, it’s crucial to prioritize safety. Here are some essential precautions:
1. Wear Protective Gear: Use rubber-soled shoes, safety goggles, and insulated gloves.
2. Keep the Area Dry: Ensure that your workspace is free of moisture.
3. Appropriate Tools: Have a screwdriver, voltmeter, and possibly pliers at hand.
4. Read Your Breaker's Manual: Familiarize yourself with your electrical panel and the specific breaker model.
Step-by-Step Guide to Replacing a Circuit Breaker
Step 1: Turn Off the Power
Locate your main electrical panel and turn off the main power switch. This action will eliminate any risk of electrocution during the breaker replacement process. It’s also wise to warn anyone in your household that the power is off.
Step 2: Test for Voltage
Use a voltmeter to ensure that there is no electricity flowing to the circuit of the breaker you are replacing. Touch the voltmeter probes to the load side terminals of the breaker to check for any remaining voltage. If the meter reads zero, you can proceed safely.
Step 3: Remove the Old Breaker
1. Using a screwdriver, remove any screws or latches holding the breaker in place.
2. Carefully pull the breaker away from the panel. You may need to gently wiggle it to free it from the panel.
3. Disconnect the wire connected to the faulty breaker. Remember which wire connects where, or take a picture for reference.
Step 4: Install the New Breaker
1. Align the new circuit breaker with its slot in the electrical panel.
2. Connect the wire you removed from the faulty breaker to the new one, ensuring it is securely fastened.
3. Firmly push the breaker into place until it clicks.
Step 5: Restore Power
Once the new breaker is in place, turn the main power switch back on. You should hear a click from the new breaker as it resets.
Step 6: Test the New Breaker
With the power restored, you should check if the new breaker is functioning correctly:
1. Flip the new breaker 'on' and observe if it stays on.
2. Test the outlet or appliance connected to that circuit to ensure it is getting power.
When to Call a Professional
If you are unsure at any point in the process or if you notice any unusual signs such as burning smells, scorching around the old breaker panel, or persistent tripping after the new breaker installation, it's best to call a licensed electrician. Electrical work can lead to serious hazards if not handled properly.
Conclusion
Replacing a faulty circuit breaker can seem intimidating, but with the right precautions and steps, it can be a manageable DIY project. Always prioritize safety and don’t hesitate to seek professional help if needed. By maintaining your electrical system, you can ensure a safe and efficient home for you and your family.
For all your electrical equipment needs, including circuit breakers, visit our online store today!